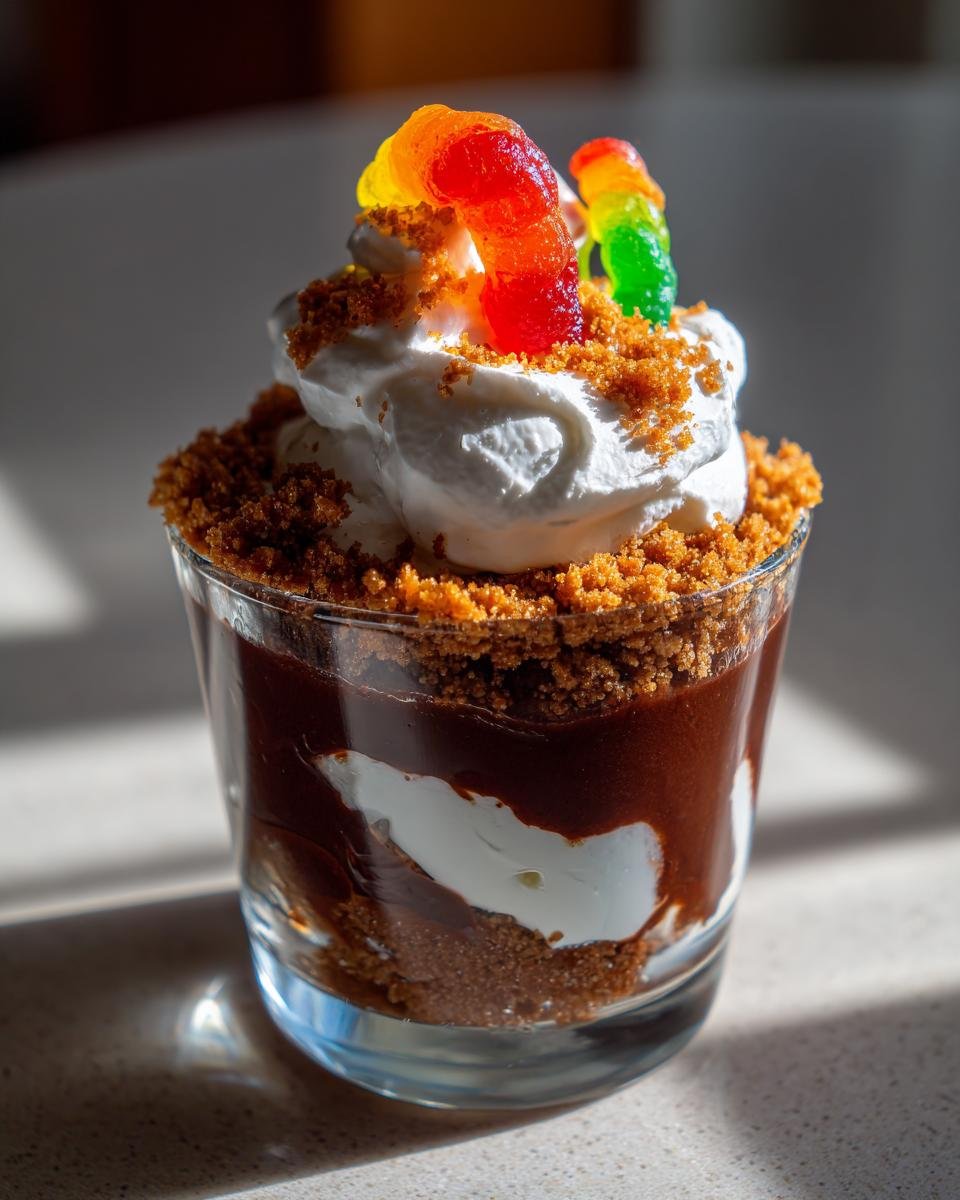
Oh my gosh, you’re going to love these Gluten-Free Chocolate “Dirt” Cups with Gummy Worms! Picture this: creamy chocolate pudding layered with crunchy cookie “dirt,” topped with squiggly gummy worms peeking out—it’s pure magic for kids (and let’s be honest, adults too). I’ve been making this no-bake treat for years, and it’s always the first dessert to disappear at parties. The best part? It’s naturally gluten-free, so everyone can dig in without worry. Trust me, when those little hands reach for seconds, you’ll know this recipe’s a winner. It’s messy, playful, and ridiculously easy—just how childhood desserts should be!

Why You’ll Love These Gluten-Free Chocolate “Dirt” Cups with Gummy Worms
Let me count the ways these adorable cups will steal your heart (and your kids’ attention):
- No oven required – Just layer, chill, and serve. Perfect for when you’re short on time or energy!
- Gluten-free magic – All the fun without the gluten, so everyone can enjoy worry-free.
- Kid magnet – The wiggly worms and “dirt” appearance make eating veggies seem boring by comparison.
- Instant party starter – These look so festive, they’ll be the talk of any playdate or birthday bash.
- Endless variations – Swap in your favorite gummy critters or cookie flavors for new adventures!
Honestly, the hardest part? Keeping little fingers out of them before serving time!
Ingredients for Gluten-Free Chocolate “Dirt” Cups with Gummy Worms
Here’s everything you’ll need to create this wiggly wonder (and yes, I’ve made this enough times to know these measurements by heart!):
- 2 cups gluten-free chocolate pudding – prepared and chilled (I use the instant kind because, well, instant happiness!)
- 1 cup finely crushed gluten-free chocolate cookies – smash them until they look like real garden dirt
- 1/2 cup whipped topping – the fluffy “cloud” that hides our squirmy friends
- 12 gummy worms – go for the colorful ones for maximum kid appeal
- 4 small clear cups – about 8 oz size, so you can see all the delicious layers
Ingredient Notes & Substitutions
Quick pro tips before you raid the pantry: Always check for the gluten-free label – some cookies and puddings hide sneaky wheat ingredients. For dairy-free versions, coconut whipped topping works beautifully. And if chocolate cookies aren’t your thing, gluten-free vanilla wafers make fantastic “sand” instead of dirt!
How to Make Gluten-Free Chocolate “Dirt” Cups with Gummy Worms
Okay, let’s get our hands dirty (figuratively speaking)! This is where the magic happens, and I promise it’s so simple you could do it with your eyes closed. Well, maybe keep one eye open for those sneaky gummy worms!
Step-by-Step Instructions
- Chill that pudding! First things first – make your pudding according to package directions and pop it in the fridge. Trust me, starting with cold pudding makes all the difference in keeping those beautiful layers distinct. About 30 minutes should do the trick.
- Crush time! While the pudding sets, take out any pent-up energy on those cookies. I use a zip-top bag and rolling pin – it’s oddly satisfying to smash them into fine, dirt-like crumbs. Kids love helping with this part (just watch those flying crumbs!).
- Layer like a pro. Now the fun begins! Spoon about 2 tablespoons of pudding into each cup, then sprinkle with cookie “dirt.” Repeat until you’ve got 2-3 layers of each. I like to gently press the cookie layers to make them look like real soil.
- Top it off. Add a fluffy dollop of whipped topping – this is your edible “grass.” Now strategically place 2-3 gummy worms in each cup, letting some peek out like they’re crawling to freedom!
- The hardest part – waiting! If you can resist digging in immediately, chill for another 15 minutes to let everything set. But hey, I won’t judge if you sneak a spoonful right away!
See? Told you it was easy! The whole process takes less time than convincing kids to eat their vegetables. Now comes the best part – watching those little faces light up when they see their wiggly dessert!
Tips for Perfect Gluten-Free Chocolate “Dirt” Cups with Gummy Worms
After making these more times than I can count, here are my foolproof secrets for dirt cup success:
- Chill your pudding first – Warm pudding makes soggy layers, and nobody wants mushy dirt! Let it set completely.
- Crush those cookies fine – Big chunks won’t stick to the pudding properly. Aim for sand-like texture.
- Press, don’t pat – Gently press cookie layers with a spoon to compact them without squishing the pudding underneath.
- Worm placement matters – Partially bury some worms so they look like they’re crawling out. Kids go wild for this!
Follow these, and you’ll have cups so perfect, even picky eaters will dig in!
Serving Suggestions for Gluten-Free Chocolate “Dirt” Cups with Gummy Worms
These adorable cups are almost too fun to eat! Serve them with cold milk for dunking (because everything’s better with milk, right?). They’re perfect for birthday parties—just line them up on a tray with mini shovels as spoons. Pack them in lunchboxes for the ultimate “cool mom” points, or set up a DIY dirt cup station at sleepovers. Honestly, the only wrong way to serve them is not at all!
Storage & Reheating Instructions
Pop any leftover dirt cups (if you’re lucky enough to have any!) in the fridge with plastic wrap or lids. They’ll stay fresh for about 2 days—just don’t freeze them or those gummy worms will turn into little ice cubes! No reheating needed here, since cold pudding tastes best anyway. Pro tip: Add fresh gummy worms right before serving if you want them extra squishy!
Nutritional Information
Okay, let’s talk numbers – because even fun desserts should come with a little nutritional transparency! These gluten-free dirt cups average about 250 calories per serving, with 20g sugar (hey, it’s dessert after all!) and 10g fat. The exact counts will vary based on your specific brands – especially the cookies and pudding you choose. But here’s the good news: using gluten-free ingredients doesn’t mean sacrificing flavor one bit. Just remember, these are treats meant to be enjoyed in between all those veggies we’re sneaking into their meals!
Frequently Asked Questions
I’ve gotten so many questions about these dirt cups over the years – here are the ones that pop up most often!
Can I use regular cookies instead of gluten-free?
Oh, I wish I could say yes, but if you’re serving anyone with gluten sensitivity, you’ve gotta stick with certified gluten-free cookies. Regular ones might look the same, but they can make some kiddos really sick. Better safe than sorry!
How long do these dirt cups last in the fridge?
They’re best eaten within 2 days – after that, the cookies start losing their crunch and the worms get a little too friendly with the pudding. Not dangerous, just not as magical!
Can I make these dairy-free too?
Absolutely! Just swap the whipped topping for coconut cream and use dairy-free pudding. I’ve done this for my niece’s class party, and nobody could tell the difference.
Do the gummy worms get hard in the fridge?
They firm up a bit when chilled, but not enough to lose their chew. If you want them extra soft, add them right before serving or let the cups sit out for 5 minutes.
What’s the best way to crush the cookies?
My foolproof method? Zip-top bag + rolling pin (or a can of beans in a pinch!). Kids love helping with this part – just be ready for some enthusiastic pounding and flying crumbs!
Final Thoughts
There you have it – the easiest, most giggle-worthy gluten-free dessert around! Give these dirt cups a try and watch the magic happen. Snap a photo of your wormy creations and tag me – I can’t wait to see your edible masterpieces!
Print12 Delicious Gluten-Free Chocolate “Dirt” Cups with Gummy Worms

A fun and easy dessert that looks like dirt with gummy worms. Perfect for kids and gluten-free diets.
- Prep Time: 10 minutes
- Cook Time: 5 minutes
- Total Time: 45 minutes (includes chilling)
- Yield: 4 servings 1x
- Category: Dessert
- Method: No-Bake
- Cuisine: American
- Diet: Gluten Free
Ingredients
- 2 cups gluten-free chocolate pudding
- 1 cup crushed gluten-free chocolate cookies
- 1/2 cup whipped topping
- 12 gummy worms
- 4 small clear cups
Instructions
- Prepare the gluten-free chocolate pudding as per package instructions and let it chill for 30 minutes.
- Crush the gluten-free chocolate cookies into fine crumbs.
- Spoon a layer of pudding into each cup.
- Sprinkle a layer of cookie crumbs on top of the pudding.
- Repeat layers until cups are full.
- Top with whipped topping and add gummy worms.
- Serve immediately or refrigerate until ready to eat.
Notes
- Use gluten-free labeled products to ensure safety.
- For a dairy-free option, substitute whipped topping with coconut cream.
- Chill pudding before assembling for best texture.
Nutrition
- Serving Size: 1 cup
- Calories: 250
- Sugar: 20g
- Sodium: 180mg
- Fat: 10g
- Saturated Fat: 5g
- Unsaturated Fat: 3g
- Trans Fat: 0g
- Carbohydrates: 35g
- Fiber: 2g
- Protein: 3g
- Cholesterol: 5mg
Keywords: gluten-free dessert, chocolate dirt cups, gummy worms, no-bake dessert, kids treat

