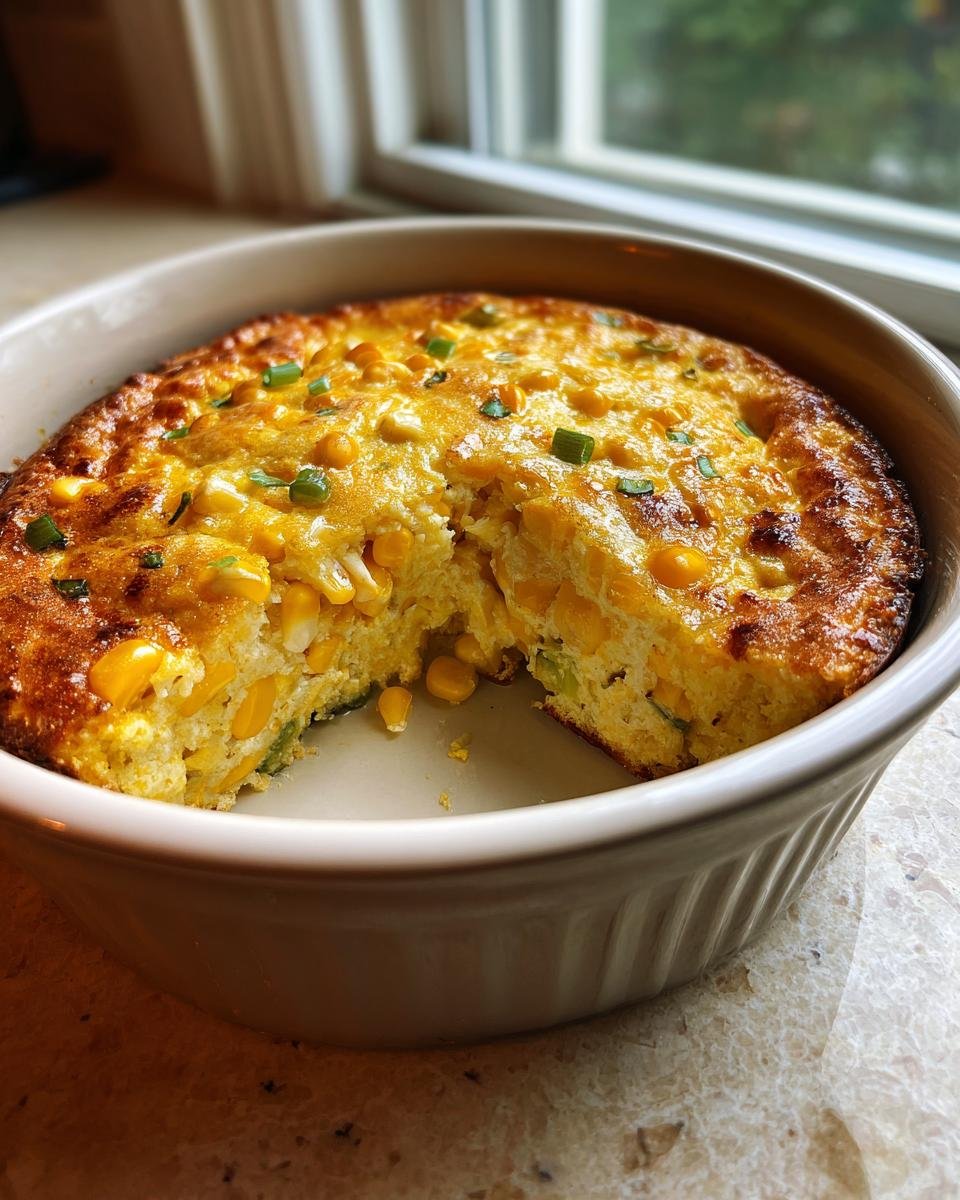
Oh, let me tell you about my absolute favorite comfort food side dish – this glorious gluten-free corn pudding! It’s the kind of recipe that makes everyone at the table go back for seconds (and thirds). I’ve been perfecting this version for years since my sister went gluten-free, and let me tell you, nobody misses the wheat in this creamy, dreamy dish. Whether it’s Sunday supper or Thanksgiving dinner, this corn pudding fits right in. The magic happens when simple ingredients come together to create something greater than the sum of its parts – sweet corn, rich eggs, and just the right touch of seasoning. And the best part? It’s so easy even my teenager can make it (though she might leave the dishes for me).
Why You’ll Love This Gluten-Free Corn Pudding
This isn’t just any corn pudding – it’s the one recipe that’ll make you forget gluten-free dishes can sometimes feel like a compromise. Here’s why it’s special:
- Creamy dreamy texture: The perfect balance between fluffy and custardy that makes every bite pure comfort
- Foolproof to make: Just mix, pour, and bake – no fancy techniques required
- Crowd-pleaser magic: Works equally well at casual weeknight dinners and holiday feasts
- Naturally gluten-free: No weird substitutes – just wholesome ingredients that happen to be GF
- Leftovers heaven: Tastes even better the next day (if it lasts that long!)
Trust me, once you try this version, it’ll become your new go-to side dish for every occasion. Learn more about gluten-free cooking.
Ingredients for Gluten-Free Corn Pudding
Here’s the beautiful simplicity of this recipe – just a handful of basic ingredients that come together to create something magical. But don’t let the short list fool you! Each one plays a crucial role in making this corn pudding sing:
- 2 cups fresh or frozen corn kernels (thawed if frozen – I always keep a bag in my freezer for emergencies!)
- 3 large eggs (room temperature – trust me, it makes a difference in how they incorporate)
- 1 cup milk (dairy or your favorite non-dairy alternative – I’ve used almond milk with great results)
- 1/4 cup gluten-free flour (I swear by King Arthur’s measure-for-measure blend)
- 1/4 cup melted butter (unsalted, please – we’ll control the salt ourselves)
- 1 tablespoon sugar (just enough to enhance the corn’s natural sweetness)
- 1 teaspoon baking powder (our little rising helper)
- 1/2 teaspoon salt (I use kosher – it distributes better)
- 1/4 teaspoon black pepper (freshly cracked if you’re feeling fancy)
- 1/4 cup chopped green onions (the green parts only – save the whites for something else)
See? Nothing weird or hard-to-find here. Just good, honest ingredients that probably already live in your kitchen. Now let’s make some magic!
Equipment You’ll Need
One of my favorite things about this recipe? You don’t need any fancy gadgets! Here’s what you’ll be grabbing from your kitchen:
- A good-sized mixing bowl (I always reach for my favorite glass one)
- A trusty whisk (or fork in a pinch!)
- An 8×8 baking dish (or similar size – this recipe isn’t picky)
- Your oven, of course
- Bonus: A blender if you prefer a smoother pudding texture
That’s it! No special equipment required – just basic tools most home cooks already have. Now let’s get cooking!
How to Make Gluten-Free Corn Pudding
Okay, let’s get to the fun part – making this creamy dream come to life! Don’t worry if you’re not an experienced baker – this recipe is practically foolproof. Just follow these simple steps, and you’ll have golden, bubbling corn pudding perfection in no time.
Preparing the Batter
First things first – preheat that oven to 350°F (175°C). While it’s heating up, let’s make magic in a bowl. Here’s my foolproof method:
- In your favorite mixing bowl, whisk together the eggs like you mean it – we want them nice and frothy. Then pour in the milk and melted butter, whisking until everything’s one happy family.
- Now for the dry ingredients: sprinkle in the gluten-free flour, sugar, baking powder, salt, and pepper. I like to give them a quick whisk together before adding to the wet ingredients – this prevents any flour lumps from forming.
- Gently stir in the corn kernels and green onions. The batter should be smooth but still have some texture from the corn – that’s exactly what we want!
Baking the Gluten-Free Corn Pudding
Here’s where the transformation happens:
- Pour your beautiful batter into the greased baking dish (I use the middle rack in my oven for even cooking). The batter will look a bit loose – that’s perfect!
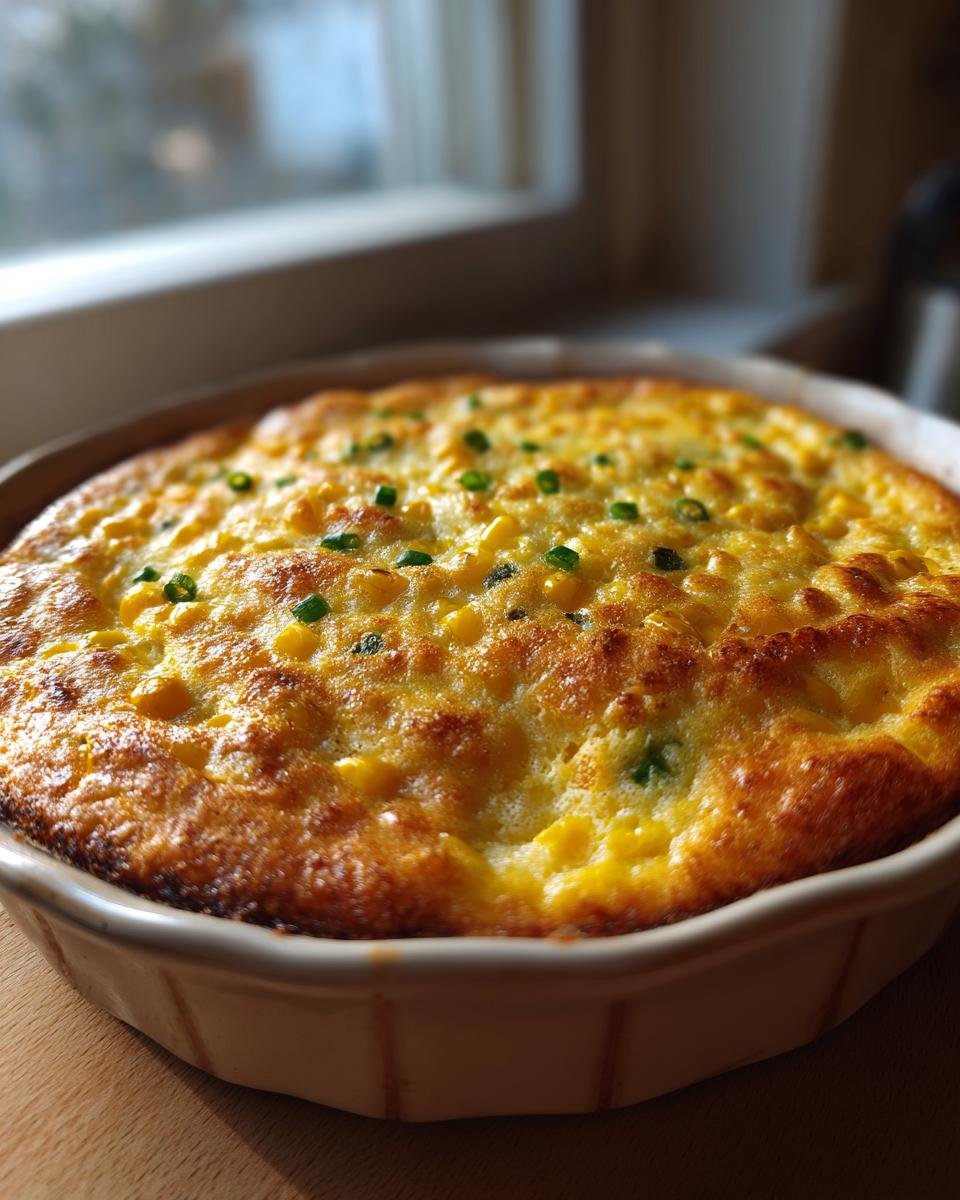
- Bake for 45-50 minutes. You’ll know it’s done when the edges are golden brown and the center is set but still has a slight jiggle (like a perfectly set custard).
- Let it rest for about 10 minutes before serving. This waiting time is crucial – it lets the pudding firm up just right and makes it easier to slice.
See? I told you it was easy! Now try not to eat the whole pan in one sitting – though I won’t judge if you do.
Tips for Perfect Gluten-Free Corn Pudding
After making this corn pudding more times than I can count (seriously, my family requests it weekly), I’ve learned all the little tricks that take it from good to wow:
- Don’t overmix! Stir just until combined – a few lumps are better than a tough pudding.
- The resting period is non-negotiable – those 10 minutes after baking let the flavors marry and the texture set properly.
- Taste your corn first – if it’s super sweet, reduce the sugar a tad. Not sweet enough? Add an extra teaspoon.
- Watch your salt – if using salted butter, cut back on the added salt.
- Pudding too wet? Bake 5 minutes longer next time. Too dry? Add another tablespoon of milk.
These small adjustments make all the difference between “nice” and “can I have the recipe?”
Variations for Gluten-Free Corn Pudding
Oh, the fun part! This recipe is like a blank canvas just waiting for your personal touch. Here are my favorite ways to mix it up:
- Cheese lover’s dream: Stir in 1/2 cup shredded sharp cheddar or pepper jack before baking (the crispy edges will make you swoon)
- Spice it up: Add diced jalapeños or a pinch of cayenne for a kick – my Texas friends swear by this version
- Herb garden special: Fresh thyme or chives take it to fancy restaurant level
- Vegan magic: Swap eggs for flax eggs, use coconut milk, and replace butter with olive oil – still creamy delicious!
The best part? You can make it different every time and never get bored. Go wild!
Serving Suggestions for Gluten-Free Corn Pudding
This corn pudding is like the best supporting actor – it makes everything else shine! I love serving it warm (not piping hot) alongside:
- Sunday roast chicken – the creamy pudding soaks up those pan juices beautifully
- Holiday ham – the sweet-salty combo is legendary
- Summer BBQ – cools down spicy ribs perfectly
- Weeknight pork chops – turns an ordinary dinner into something special
Pro tip: Leftovers taste amazing cold straight from the fridge – not that I’d know from personal experience or anything…
Storing and Reheating Gluten-Free Corn Pudding
Here’s the beautiful thing about this corn pudding – it keeps like a dream! Let it cool completely, then cover tightly with plastic or transfer to an airtight container. It’ll stay perfect in the fridge for up to 3 days. When reheating, I always use the oven (about 300°F for 15-20 minutes) to keep that creamy texture just right. Microwave works in a pinch, but the edges won’t get that lovely crispness again. And if you’re feeling extra fancy? A quick broil at the end gives you those golden bubbles back!
Nutritional Information
Now, I’m no dietitian (just a corn pudding enthusiast!), but here’s the nutritional scoop per serving to help you plan your meals. Remember, these are estimates – the exact numbers can vary based on your specific ingredients and any tweaks you make to the recipe.
- Calories: About 180 per generous serving
- Carbohydrates: 20g (hello, sweet corn goodness!)
- Protein: 5g – those eggs really pull their weight
- Fat: 10g (we’re not counting though – it’s totally worth it)
- Fiber: 2g – not bad for such a creamy dish!
One thing I love about this recipe? It manages to be comforting and relatively balanced. The protein from the eggs and milk helps balance the natural carbs from the corn, making it more satisfying than your average side dish. And since we’re using real, wholesome ingredients, you can feel good about serving this to your family. Learn more about balanced nutrition.
Just a friendly reminder – if you’re making substitutions (like almond milk instead of dairy), your numbers might shift a bit. But that’s the beauty of home cooking – making it work for you!
FAQs About Gluten-Free Corn Pudding
Over the years, I’ve gotten so many questions about this recipe – and I love chatting about every little detail! Here are the answers to the ones that come up most often:
Can I use canned corn instead of fresh or frozen?
Absolutely! Just drain it well first – nobody wants watery pudding. I actually keep a can in my pantry for last-minute cravings. The texture will be slightly softer, but the flavor is still fantastic. If using canned, I sometimes reduce the salt a smidge since canned corn can be saltier.
Is this corn pudding freezer-friendly?
You bet! It freezes beautifully for up to 2 months. I like to portion it into individual servings before freezing. To reheat, thaw overnight in the fridge, then warm in a 300°F oven for about 20 minutes. The texture stays remarkably creamy – though the edges won’t be quite as crisp as fresh from the oven.
Can I make this dairy-free?
Oh honey, yes! I’ve made this for my lactose-intolerant niece dozens of times. Just swap the milk for your favorite non-dairy alternative (almond and oat milk work best) and use melted coconut oil instead of butter. The flavor changes slightly, but it’s still delicious. For extra richness, try adding a tablespoon of nutritional yeast.
Why did my pudding turn out dense?
Most likely from overmixing the batter (been there!). Gluten-free flours can get gummy if you work them too hard. Next time, stir just until combined – a few lumps are okay! Also, make sure your baking powder is fresh – old powder won’t give you that perfect lift.
Can I prepare this ahead of time?
My secret hosting trick! Mix the batter up to 24 hours ahead and keep it covered in the fridge. The baking time might increase by 5-10 minutes since you’re starting with cold batter. The flavors actually improve with this rest time – the corn gets extra sweet.
Got more questions? Try this recipe and share your results in the comments! I’d love to hear how it turns out in your kitchen. Read more recipes.
PrintIrresistible Gluten-Free Corn Pudding in 50 Minutes

A savory gluten-free corn pudding that makes a perfect side dish for any meal. This dish is creamy and flavorful with a light texture.
- Prep Time: 10 minutes
- Cook Time: 50 minutes
- Total Time: 60 minutes
- Yield: 6 servings 1x
- Category: Side Dish
- Method: Baking
- Cuisine: American
- Diet: Gluten Free
Ingredients
- 2 cups fresh or frozen corn kernels
- 3 large eggs
- 1 cup milk (dairy or non-dairy)
- 1/4 cup gluten-free flour
- 1/4 cup melted butter
- 1 tbsp sugar
- 1 tsp baking powder
- 1/2 tsp salt
- 1/4 tsp black pepper
- 1/4 cup chopped green onions
Instructions
- Preheat your oven to 350°F (175°C).
- Grease a baking dish with butter or oil.
- In a bowl, whisk eggs, milk, and melted butter.
- Add gluten-free flour, sugar, baking powder, salt, and pepper. Mix well.
- Stir in corn kernels and green onions.
- Pour the mixture into the prepared baking dish.
- Bake for 45-50 minutes until golden and set.
- Let it cool slightly before serving.
Notes
- Use dairy-free milk and butter for a vegan version.
- Can be made ahead and reheated.
- Add cheese for extra flavor if desired.
Nutrition
- Serving Size: 1/6 of dish
- Calories: 180
- Sugar: 4g
- Sodium: 280mg
- Fat: 10g
- Saturated Fat: 5g
- Unsaturated Fat: 4g
- Trans Fat: 0g
- Carbohydrates: 20g
- Fiber: 2g
- Protein: 5g
- Cholesterol: 100mg
Keywords: gluten free corn pudding, savory side dish, corn pudding recipe, gluten free baking

